Way to make 100% recycled art journal from cereal boxes
Way to make 100% recycled art journal from cereal boxes
Cereals have been always in trend for years. People love to consume them in breakfast to start a healthy day. Children can't stay away from the attractiveness of this food item. Due to such a demand for the product, its packaging is designed in a way to attract the customers at first sight. The cereal boxes design plays an imperative role in this regard. The packaging is designed with eye-catchy colors and fascinating patterns to provide an enticing view to the customer. The cereal boxes are so attractive that people don't want to throw them away even after use. Although disposing of them in the recycling bin is a good idea but few people know that these empty cereal boxes for sale can be used to make a number of interesting crafts. Creating 100% recycled art journal is one of the most fascinating cereal boxes ideas. You have to use a couple of cereal boxes along with other commonly available household items like scrap papers, scrap fabric, glue, scissors, beads, ribbons, paints, and other embellishments. Just follow some simple steps and enjoy what magic your art journal can create. You may also engage your kids with you. It will be a fun project for them. You can keep them busy for hours by making them design something new for your art journal.
Step 1: Get Cereal Boxes!
The first step of the process is to gather as many cereal boxes as you can. Ask your friends and family to help you in collecting the box. You may also visit a near local store to get empty cereal boxes for sale. Search your storeroom. You will definitely find a number of cereal boxes to add on to your collection.
Step 2: Trim the Cereal Boxes to the Same Size to Make Pages
After collecting the cereal boxes, figure out what size of art journal you want to create. For this purpose, decide its dimensions. Cut all the cereal boxes to the same size. Remove the upper and lower flaps to obtain rectangular sheets of Kraft Paper. Use scissors to cut the front and back side of cereal boxes design. You have to work on edges with a cutter to make them even. Although the process may take some time you will obtain a number of perfect size pages for your art journal.
Step 3: Design Artwork for your Journal
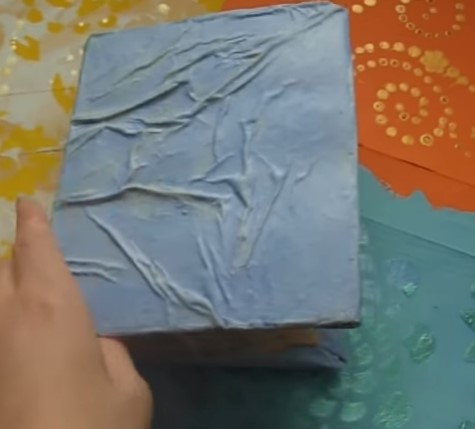
An art journal is incomplete without your fascinating creations. Therefore think something innovative for it. The cereal boxes you cut down in the previous step will serve as the pages for your artwork. You may cover them with colorful paper or keep them as it is whatever you like. It's the perfect chance for you to show off your creativity. Sketch something creative or you may use spray paint, blotting, stencil work, finger paint, stamping, glitter paints or whatever you like. Use ribbon, beads, stickers and broken jewelry etc to decorate your artwork. Design a number of pages in this way to make a perfect art journal.
Once your artwork is ready next step is to design an alluring cover for your art journal. They are two ways to do so. The first option is to cut the cereal boxes in the same ways as you did in the second step. Cut it a few centimeters larger than the size of the pages. Otherwise, take another cereal box. Remove its upper and lower flaps but do not cut it along the edges vertically. Decorate it in the way you want. Cover it with some decorative paper. Paint it or use various embellishments to give it a beautiful display. Once your cover is ready it's the time to assemble all parts.
Step 5: Assemble Everything!
Once everything is ready, it's the time to assemble the pages and cover. An easy way is to use a staple and a duct tape for this purpose. It is a good option is your art journal is not so thick. Use a heavy-duty stapler for the thicker journal. Staple all the pages from one side and attach a duct tape along the stapled ends. Another creative way is to use a hole punch and brads. Make two large holes or three to four small holes. Make sure that your holes are well-aligned with each other as you have to punch holes on a number of pages. Pass brad or colorful strings through each hole and bend them back to tie strong knots. You may also use binder clips or book rings if you want your art journal to be bound strongly. For book ring, you have to punch holes and pass the ring through it. It helps you to easily organize your pages or add-on new one by opening it. You may also place some bookmarks for a beautiful touch. For more details refer to the following video:


Wonderful!
ReplyDeleteChoosing the color scheme of your cereal box packaging solution is a very important step to take.
ReplyDelete